We are making a vermipit for our earthworms. We had collected 10 Eisenia fetida from G-lab, HBCSE on 18/8/2019. They are currently placed in cup cultures and shall be transferred 10-14 days after the vermipit is made.
9 Likes
How did you make a Vermipit? Please share the process in detail.
4 Likes
What are the characteristics feature of e fetida? How can I confirm it is the same? Any specifications?
2 Likes
Are you sure which species these are?!! I suspect
there are several bat be ones in GLab as well.
.!
Yes sir, I’m positive that the earthworms are Eisenia fetida as we picked them out from the Eisenia fetida vermipit and the Eisenia fetida cup cultures at G-lab.
1 Like
please tell this so that everyone can identify
2 Likes
Eisenia fetida is an epigeic, detrivorous compost earthworm and is also known as the red wiggler or angler worm. Eisenia fetida is very easily identified by its striped appearance of alternating broad, dark red-brown bands and narrower, pale pink or yellowish bands. The clitellum is generally the same dark red-brown as the rest of its body. The species identifier of its binomial name ‘ fetida ’ , means foul-smelling, and as it suggests the earthworm can exude an odd smelling yellowish fluid if disturbed. This yellowish fluid that it secretes is the major identification feature of the worm. It typically measures 2-6mm in width and 26-130mm in length.
I shall provide pictures to prove the same.
Reference:
3 Likes
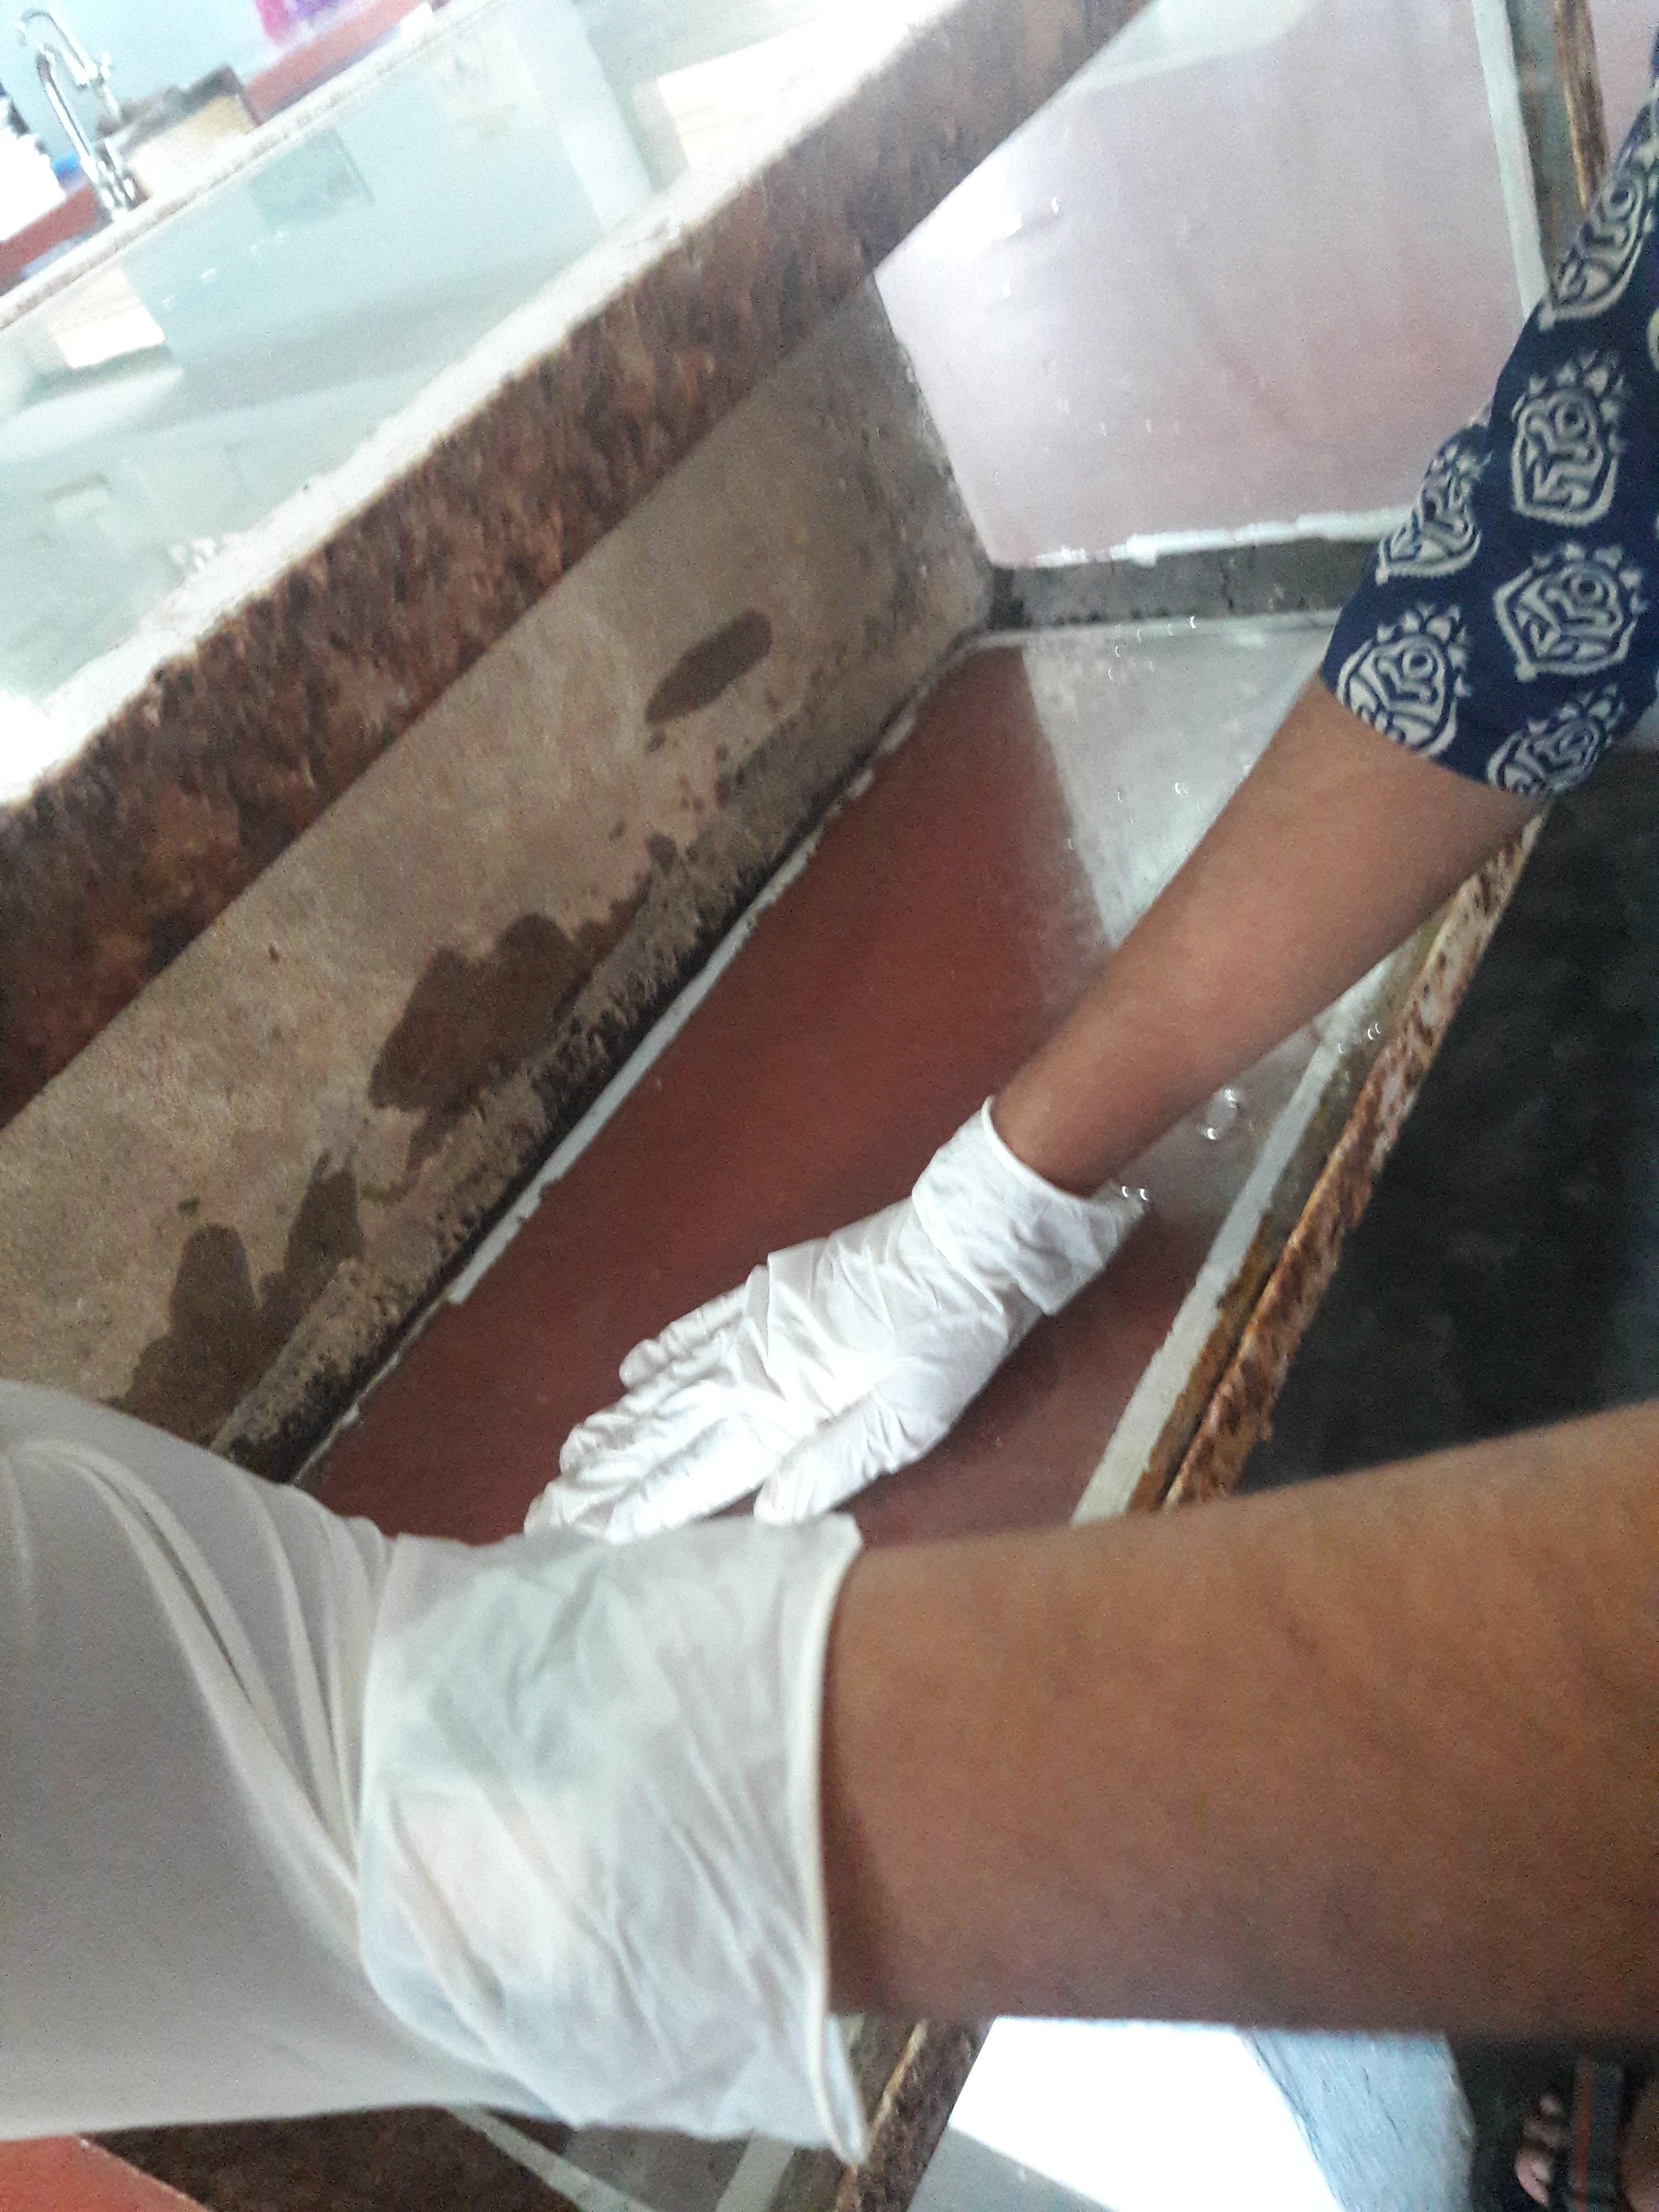
Methodology for making vermipit: We have taken an abandoned aquarium for our vermipit. Then, we’ll collect soil and make sure that the soil we are using are free of other species of earthworm by handpicking out the eggs as well as the earthworms. The bottom of the aquarium is covered with thatch grass or coconut husk. Once we are sure that the soil is free of other species of earthworm, it is sieved and laid over the thatch grass/coconut husk. Now a layer of vegetable peel and fruit peel are laid over the soil. Another layer of soil is kept over this. This is continued for 5-6 layers. Now the vermipit is placed in a shady and cool place and left untouched for 10-14 days. The vermipit is now ready and the earthworms can be introduced.
The vermipit will be up and running by tomorrow. I’ll post pictures once it is made.
2 Likes
@Akshitha although it give us an idea about the e fetida but i cannot rely unless and until it is quoted from a proper references although it provides us with the cross references try to find out information from reference paper
here is an paper from the reference you gave https://www.sciencedirect.com/science/article/pii/S0147651311004738
2 Likes
I quoted the same as the site provided cross references ![]()
I read this paper on toxicity, the identifying features of Eisenia fetida were not mentioned.
2 Likes
How are you making this vermpit?
2 Likes
I had mentioned the methodology above ![]()
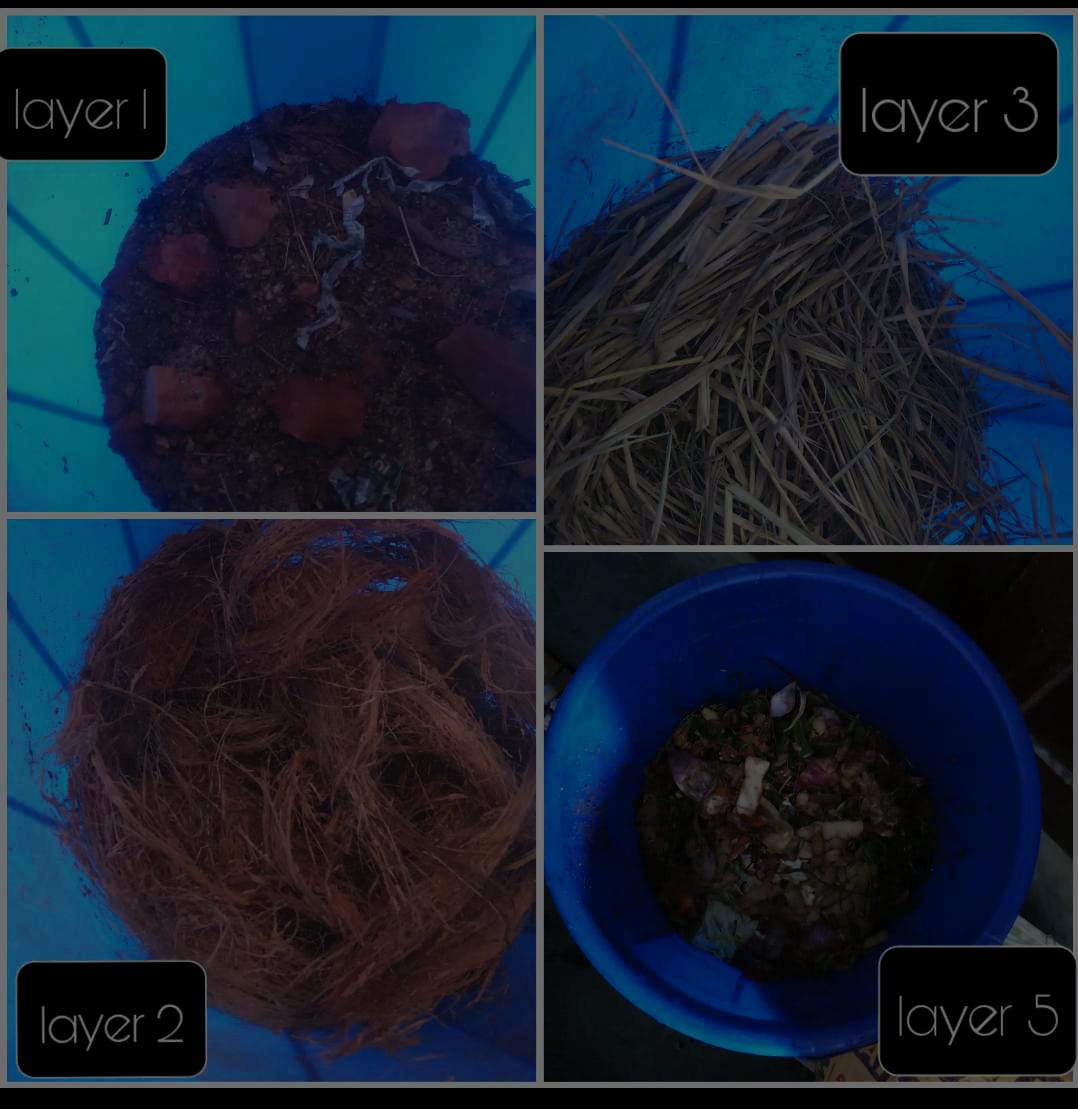
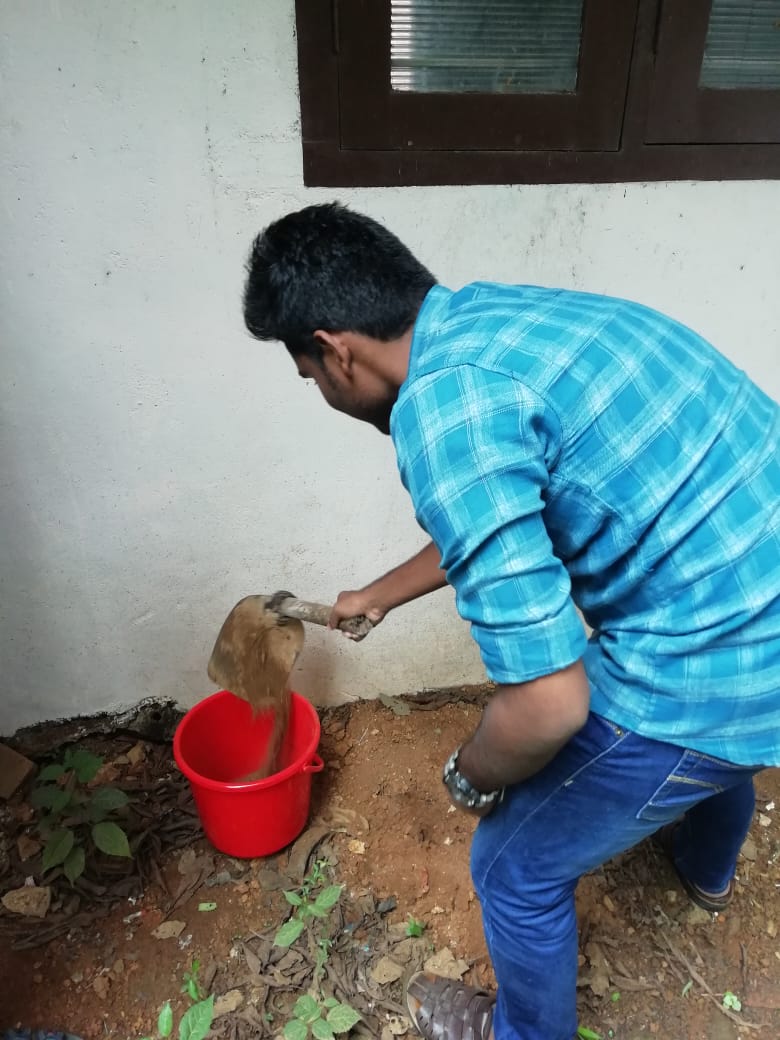
We decided to use a plastic bucket instead of the aquarium as it was easier to handle and less likely to break. We have finished layering. The first layer or bottom layer is gravel and rocks.
Layer 2 - coconut husk
Layer 3 - hay
Layer 4 - soil
Layer 5 - vegetable waste
Layer 6 - soil
Layer 7 - vegetable waste
Layer 8 - soil
Layer 9 - vegetable waste
Layer 10 - soil
Each layer is followed by sprinkling of water. The bucket is then kept closed and in the shade for 10-14 days so that the vegetables start to decompose and food is readily available for the earthworms once they are transferred to the vermipit.
5 Likes
But have u made holes in the base of the bucket so that excess water drains out or something
2 Likes
@Akshitha Why are you taking three layers of vegetable waste? Can you replace one of the layers with dried leaves!!
2 Likes
Yes. The holes were made for drainage before layering. ![]()
2 Likes
…“Leaves are a relatively poor source of nutrients for vermicompost but they make an excellent source of bedding for the worms”…
Reference:
We did add a lot of cabbage leaves and melon rinds but I’ll take your advice and add another layer of dried leaves and soil.
4 Likes